

Chicken Cat, a surprisingly delightful dish that marries savory flavors with a touch of whimsy, is about to become your new weeknight favorite. Imagine tender chicken embraced by a luscious, tangy glaze, a symphony of taste that dances on your palate.
This isn’t just food; it’s a culinary adventure, a story told in textures and tastes, perfect for cozy family dinners or impressing that special someone who appreciates a dash of playful creativity. Prepare to be amazed by how simple ingredients transform into an unforgettable eating experience, a true testament to the magic of cooking.
- Effortlessly crafted in under an hour, this recipe is perfect for busy weeknights when you crave a home-cooked meal.
- The sweet and savory flavor combination, with a hint of citrus, creates a taste that will tantalize your taste buds.
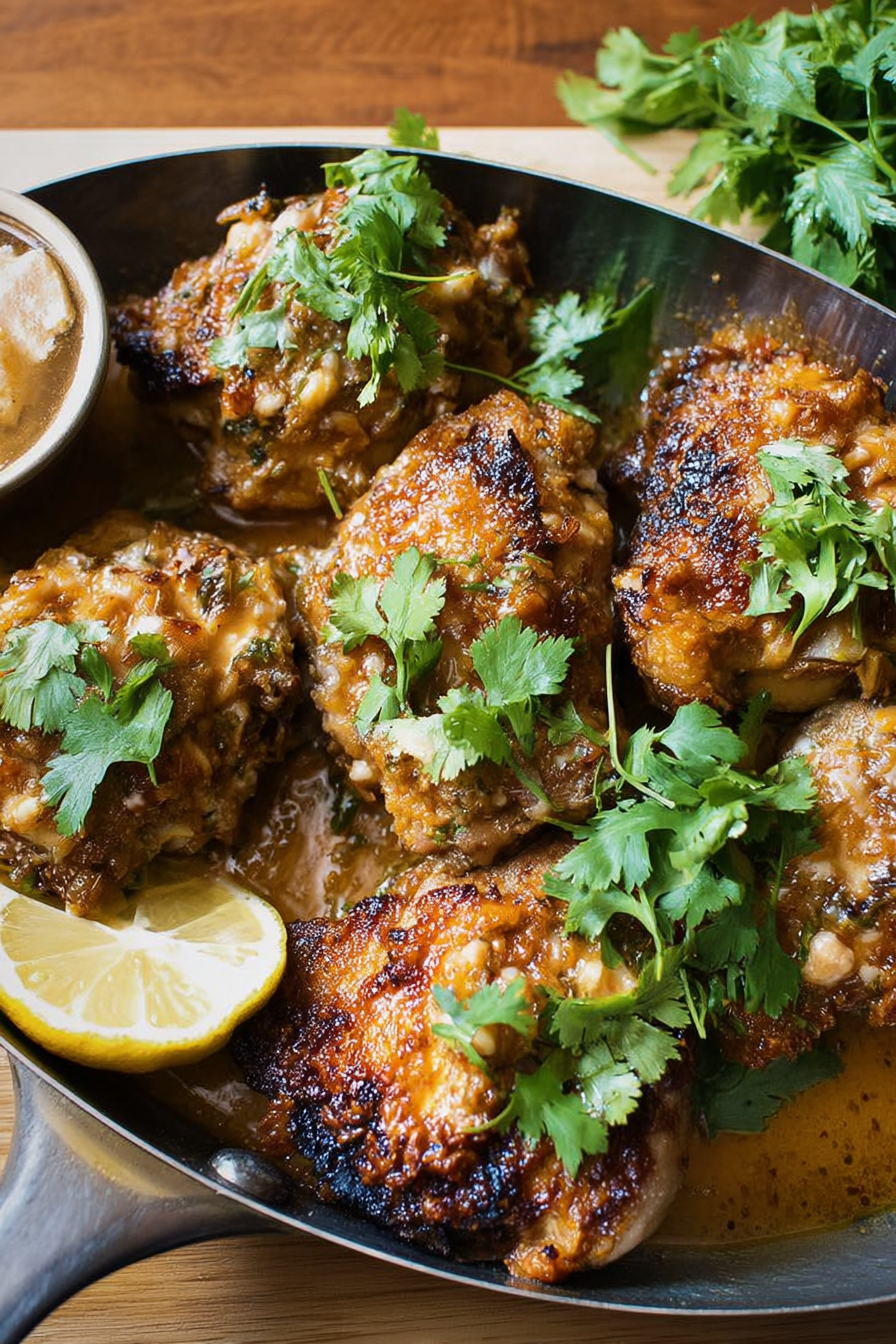
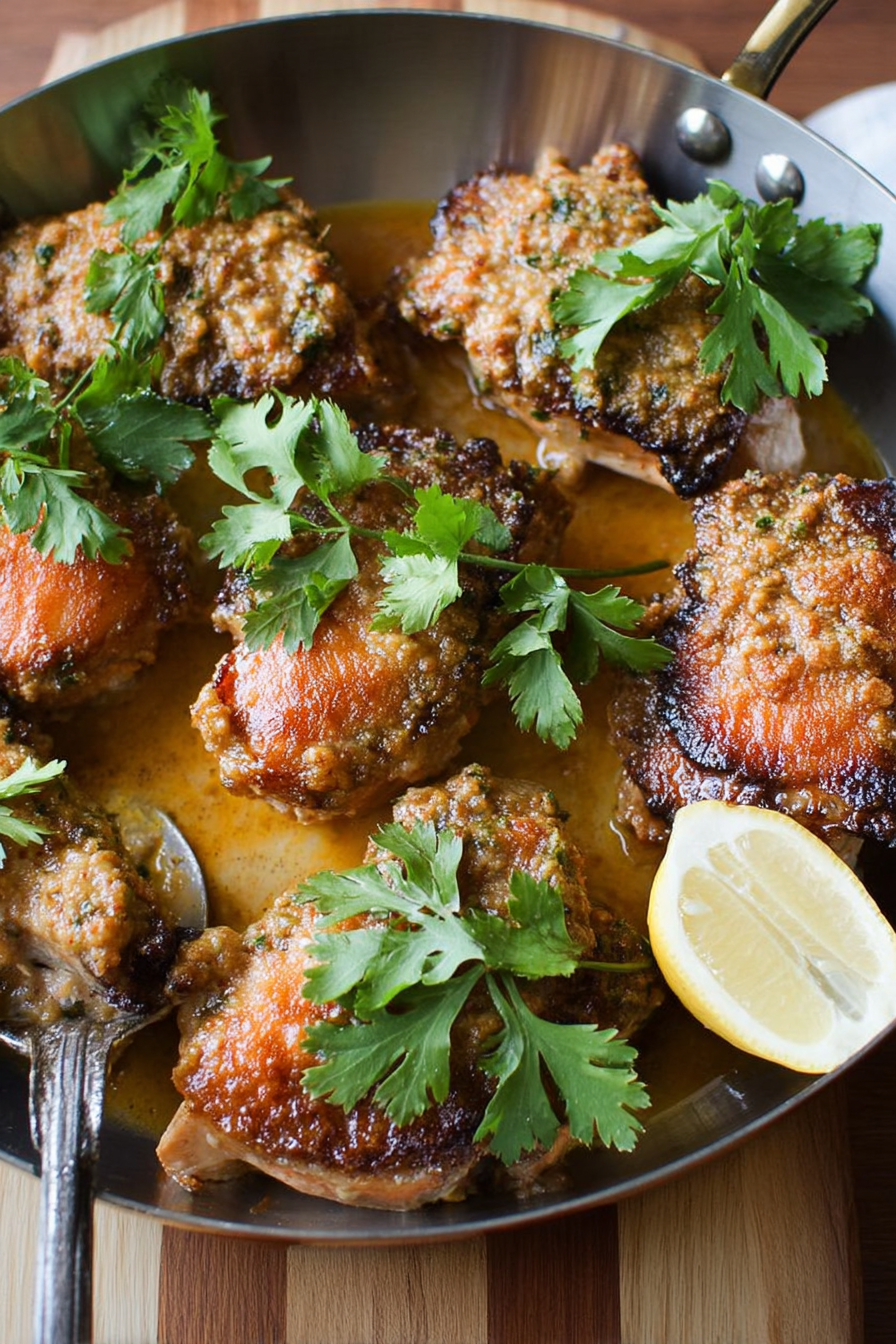
- The glaze gives the chicken a beautiful, glossy finish, making it a visually stunning dish that’s sure to impress.
- Serve it with rice, roasted vegetables, or a fresh salad for a complete and satisfying meal that everyone will love.
Ingredients for Chicken Cat
Here’s what you’ll need to make this delicious dish:
The full ingredients list, including measurements, is provided in the recipe card directly below.
How to Make Chicken Cat
Follow these simple steps to prepare this delicious dish:
Step 1: Prepare the Chicken
Cut the chicken breasts into bite-sized pieces. This ensures they cook evenly and absorb the marinade effectively. Place the chicken pieces in a bowl.
Step 2: Make the Marinade
In a separate bowl, whisk together the soy sauce, honey, apple cider vinegar, minced garlic, grated ginger, and sesame oil. Make sure everything is well combined for the best flavor infusion.
Step 3: Marinate the Chicken
Pour the marinade over the chicken pieces, ensuring they are fully coated. Cover the bowl and refrigerate for at least 30 minutes, or up to 2 hours. The longer the chicken marinates, the more flavorful it will become.
Step 4: Cook the Chicken
Heat a large skillet or wok over medium-high heat. Add the marinated chicken and cook, stirring occasionally, until the chicken is cooked through and slightly browned, about 8-10 minutes.
Step 5: Thicken the Sauce
In a small bowl, whisk together the cornstarch and 2 tablespoons of water to create a slurry. Pour the cornstarch slurry into the skillet with the chicken. Stir constantly until the sauce thickens and becomes glossy, about 1-2 minutes.
Step 6: Garnish and Serve
Remove the skillet from the heat. Sprinkle the chicken with sesame seeds and chopped green onions for added flavor and visual appeal. Serve immediately over rice, noodles, or your favorite side dish.
Perfecting the Cooking Process
To achieve culinary nirvana with this dish, sear the chicken first to lock in those delicious juices. While the chicken rests, get your pasta cooking. Lastly, craft your incredible sauce, bringing all the elements together in harmonious perfection.
Add Your Touch
Feeling adventurous? Swap the pasta for zucchini noodles for a lighter twist. Experiment with different herbs and spices to create a flavor profile that sings to your soul. Add a sprinkle of toasted nuts for extra crunch and nutty goodness.
Storing & Reheating
Store any leftover creation in an airtight container in the refrigerator. When hunger strikes again, gently reheat on the stovetop with a splash of broth to maintain moisture. Alternatively, microwave in short bursts, stirring occasionally, until warmed through.
Here are some tips to elevate your chicken masterpiece:
- Don’t overcrowd the pan when searing the chicken; work in batches to ensure a beautiful golden-brown crust.
- Taste and adjust the sauce as you go; a little extra lemon juice or a pinch of red pepper flakes can work wonders.
- Allow the chicken to rest for a few minutes after cooking; this helps the juices redistribute, resulting in a more tender, flavorful bite.
(Personal anecdote formated as paragraph subheading)
My friend Sarah once declared this recipe “life-changing” after I added a secret ingredient (a whisper of smoked paprika). That’s when I knew I was onto something special.
Conclusion for Chicken Cat:
Chicken Cat isn’t just a recipe; it’s an adventure in the kitchen! This surprisingly delightful dish offers a playful twist on everyday chicken, transforming it into something special. From its customizable flavors to its crowd-pleasing presentation, it’s a winner for families and picky eaters alike. So, embrace the fun, get creative with your ingredients, and prepare to be amazed at how this whimsical Chicken Cat brings joy to your table. Don’t just cook, create a memory!
Print
Chicken Cat
Delicious chicken cat recipe with detailed instructions and nutritional information.
- Total Time: 35 minutes
- Yield: 4 servings 1x
Ingredients
- 500g Chicken
- 2 tablespoons olive oil
- 1 teaspoon salt
- 1/2 teaspoon black pepper
- 2 cloves garlic
- 1 onion
Instructions
- Step 1: Prepare all ingredients
- Step 2: Heat oil in a pan
- Step 3: Cook the main ingredients
- Step 4: Season to taste
- Step 5: Serve hot
Notes
- Store leftovers in an airtight container in the fridge for up to 3 days to keep the chicken moist and flavorful.
- For best results, reheat the Chicken Cat gently in a pan over medium-low heat, adding a splash of water or broth if needed.
- Serve your Chicken Cat with a side of fluffy rice or a simple salad to complete the meal.
- Don't overcrowd the pan when cooking; this will allow the chicken to brown nicely and develop a richer flavor.
- Prep Time: 15 minutes
- Cook Time: 20 minutes
- Method: Stovetop
- Cuisine: American
FAQs:
What’s the best way to ensure my picky eater enjoys this Chicken Cat creation?
Ah, the picky eater conundrum! We’ve all been there. The secret weapon here is presentation. Think of this dish as edible art. Use cookie cutters to make fun shapes from the chicken mixture before baking. Get the little ones involved in decorating with veggie “whiskers” or pepper “eyes.” A little creativity goes a long way in turning a culinary question mark into a resounding “YUM!” And remember, sometimes a simple dip like a tangy yogurt sauce or a sweet chili glaze can seal the deal.
Can I make Chicken Cat ahead of time?
Absolutely! This recipe is your new best friend for meal prepping. Prepare the chicken mixture, form the patties, and store them in the refrigerator for up to 24 hours. When you are ready to cook, just pop them in the oven. You can even bake them ahead of time and gently reheat them. They are great for lunches and quick dinners. This flexibility makes Chicken Cat a total game-changer for busy weeknights or lazy weekends.
How can I adapt Chicken Cat for different dietary needs or preferences?
One of the best things about this dish is its versatility! Need a gluten-free version? Use gluten-free breadcrumbs or almond flour. Want to sneak in more veggies? Grate some zucchini or carrots into the chicken mixture. For a spicier kick, add a pinch of red pepper flakes or a dash of hot sauce. It’s like culinary Mad Libs – fill in the blanks with your favorite flavors and dietary requirements, creating a totally new chicken sensation!
Can I freeze Chicken Cat for longer storage?
Yes, you can! Freezing is a fantastic way to extend the shelf life of these tasty treats. Bake them completely, let them cool, and then wrap them individually in plastic wrap before placing them in a freezer-safe bag or container. They can last for up to 2-3 months in the freezer. When you’re ready to enjoy them, simply thaw them overnight in the refrigerator or reheat them in the oven or microwave.


Leave a Comment